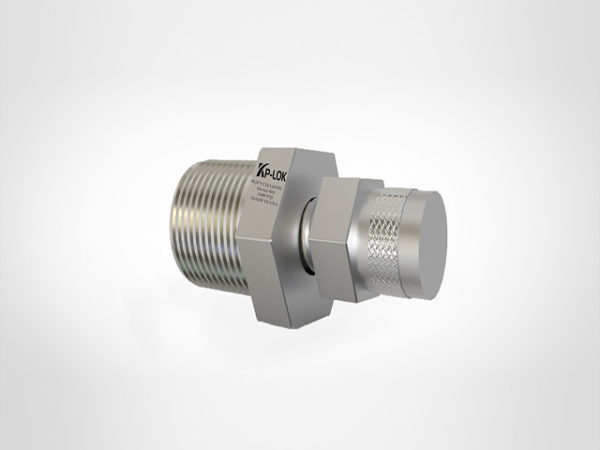
General
The ball valve has a flange, collar and
loose flange or end and end of the belt. It possesses two symmetrical body
halves, a single piece ball with a ball resting on its seat and a stem. Because
the ball is against the downstream seat, the standard valve is both rigid in
both directions of flow. The valve can act as a hermetic shutoff valve.
Handling
- Receiving and Storage
Make sure that the valve is not damaged
during transport. Keep the valve as it should be prior to installation. Do not
take it to the assembly site until you are ready to install it. Do not remove
the shield before installing the valve in the piping. The valve is always sent
opened.
Pipeline
Installation
Wash or blow tube before installing valve.
Crusts, sand and welding electrode parts can damage the surface of balls and
sheets. There are three indications that indicate the valve's open or closed
position.
a) Arrow on the centre drive
b) The groove at the end of the ball stem
c) The key of the ball stem
All are in the same direction as the flow
opening. If you have questions about the arrows, check the slots and keyholes.
Place the lifting strap on the valve body. Do not lift the valve with an
actuator. However, the valve can be installed in a convenient location. Do not
install the stem down because all leaks in the gasket can pass through the
actuator. If possible, install the valve in a position where it can be removed
without removing the valve from the piping if an actuator is required. Flange
gaskets suitable for the operating conditions must be used. Do not use flange
bolts to correct misalignment of the pipe. The actuator must not touch the tube
as the vibration of the tube may damage the tube or cause it to malfunction. Do
not install a valve with a flange on the necklace. The flange must be fitted
with a flanged valve and sealed with a full face seal.
Valve
support
Well supported pipe minimizes valve
deformation due to pipe vibration. It is advisable to support piping, not
valves, for maintenance purposes. However, if necessary, support the body with
clamps and brackets. Do not attach the support frame to flange bolts or actuators.
Make
sure the pipeline is clean
If the valve is leaked when the tubing is
pressurized, the cause may be insufficient amount of test fluid, or the tube
pressure of the ball is too low, so that it may not come into close contact
with the sheet. In this case, loosen the actuator bracket and tap the steam or
body lightly to increase differential pressure or move the ball. If you need to
remove the bracket, make sure the open position has not changed.
